Castle Ravenloft
From Hayashi Park Potterverse for 5th ed. Dungeons and Dragons (5e)
Nurmengard prison/fortress/Castle Ravenloft
Contents
Minimum PC Level
(Level 9) Castle Ravenloft: Page 49 ([1])
Ambient audio
Rainy Castle Exterior by Sword Coast Audio
Rain outside, fireplace inside by Guild of Ambience
The Journey to Ravenloft
In preparation for the trip to Ravenloft, I allowed a few things to happen. The group went to Van Richten and said they knew it was him and asked him to come with them to fight Strahd. He didn't go because he is too worried that his curse will spell their doom. Instead he gives them his Scroll of Raise Dead. Ireena had been captured by Strahd at this point so her brother sends some Barovian commoners along with the PCs to try to help. I loved having commoners with the PCs because it enhances the horror movie element since you can kill them off in various ways - the players get to watch their party dwindle as they go deeper into the Castle. (reddit)
My players jumped in the Black Carriage, but got out again before the bridge. One of the Barovian Commoners did not make it all the way across the bridge, loosing his footing and plummeting 1000 feet to his death. This was great. (reddit)
Managing the Castle
This is going to be the most important section of this post. Right at the moment the PCs set foot on the grounds of Castle Ravenloft, I told them how it was going to work with something along the lines of this - "Welcome to Castle Ravenloft. There are random encounters here that I will roll for. I will roll every 10 minutes of game time. A short rest takes 1 hour, that means 6 rolls. A long rest is 8 hours, or 48 rolls. Having everyone search a room will take 10 minutes, so one roll. If I think you are taking to long to do something, that's gonna be another roll. Not all the random encounters are bad for you, but most of them are." Saying this to the players does break the immersion to a degree, but I really think it is worth it. They need to know that resting in Ravenloft is a risky proposition. My players started out with Barovian Commoners, so read what they do in the random encounters. I'm almost certain that Barovian Commoners are the most dangerous thing in there. I also had all the players write down their Passive Perception, AC, and Weight on a little card and hung it from my DM screen. This is going to be important for the traps later. (reddit)
I also went through the dungeon beforehand with a pack of Sticky Notes. When I came to an interesting room I would write a little role playing challenge on the sticky note which was appropriate to the room and then stick the note in the book. When a player completed one of these challenges, I would peel off the sticky note and hand it too them. They can give it back to me for a point of inspiration. Some examples of these sticky notes follow: (reddit)
For K42. Kings Bedchamber : "For inspiration, tell of a time when your character experienced naive love" (reddit)
For K32. Maid in Hell: "For inspiration, tell of a time a servant showed you kindness even though it was risky" (reddit)
For K37. Study: "For Inspiration, tell of a time your character was excited or inspired to learn something" (reddit)
For Crypt 35 : "For inspiration, tell your characters favorite joke" (reddit)
You get the idea. I maybe made 20 of these. It's unlikely they will clear the whole castle so they won't get to do all of them, but I really like this idea (nice pat on the back for me there) and might start using it for other dungeons in the future. (reddit)
The Maps
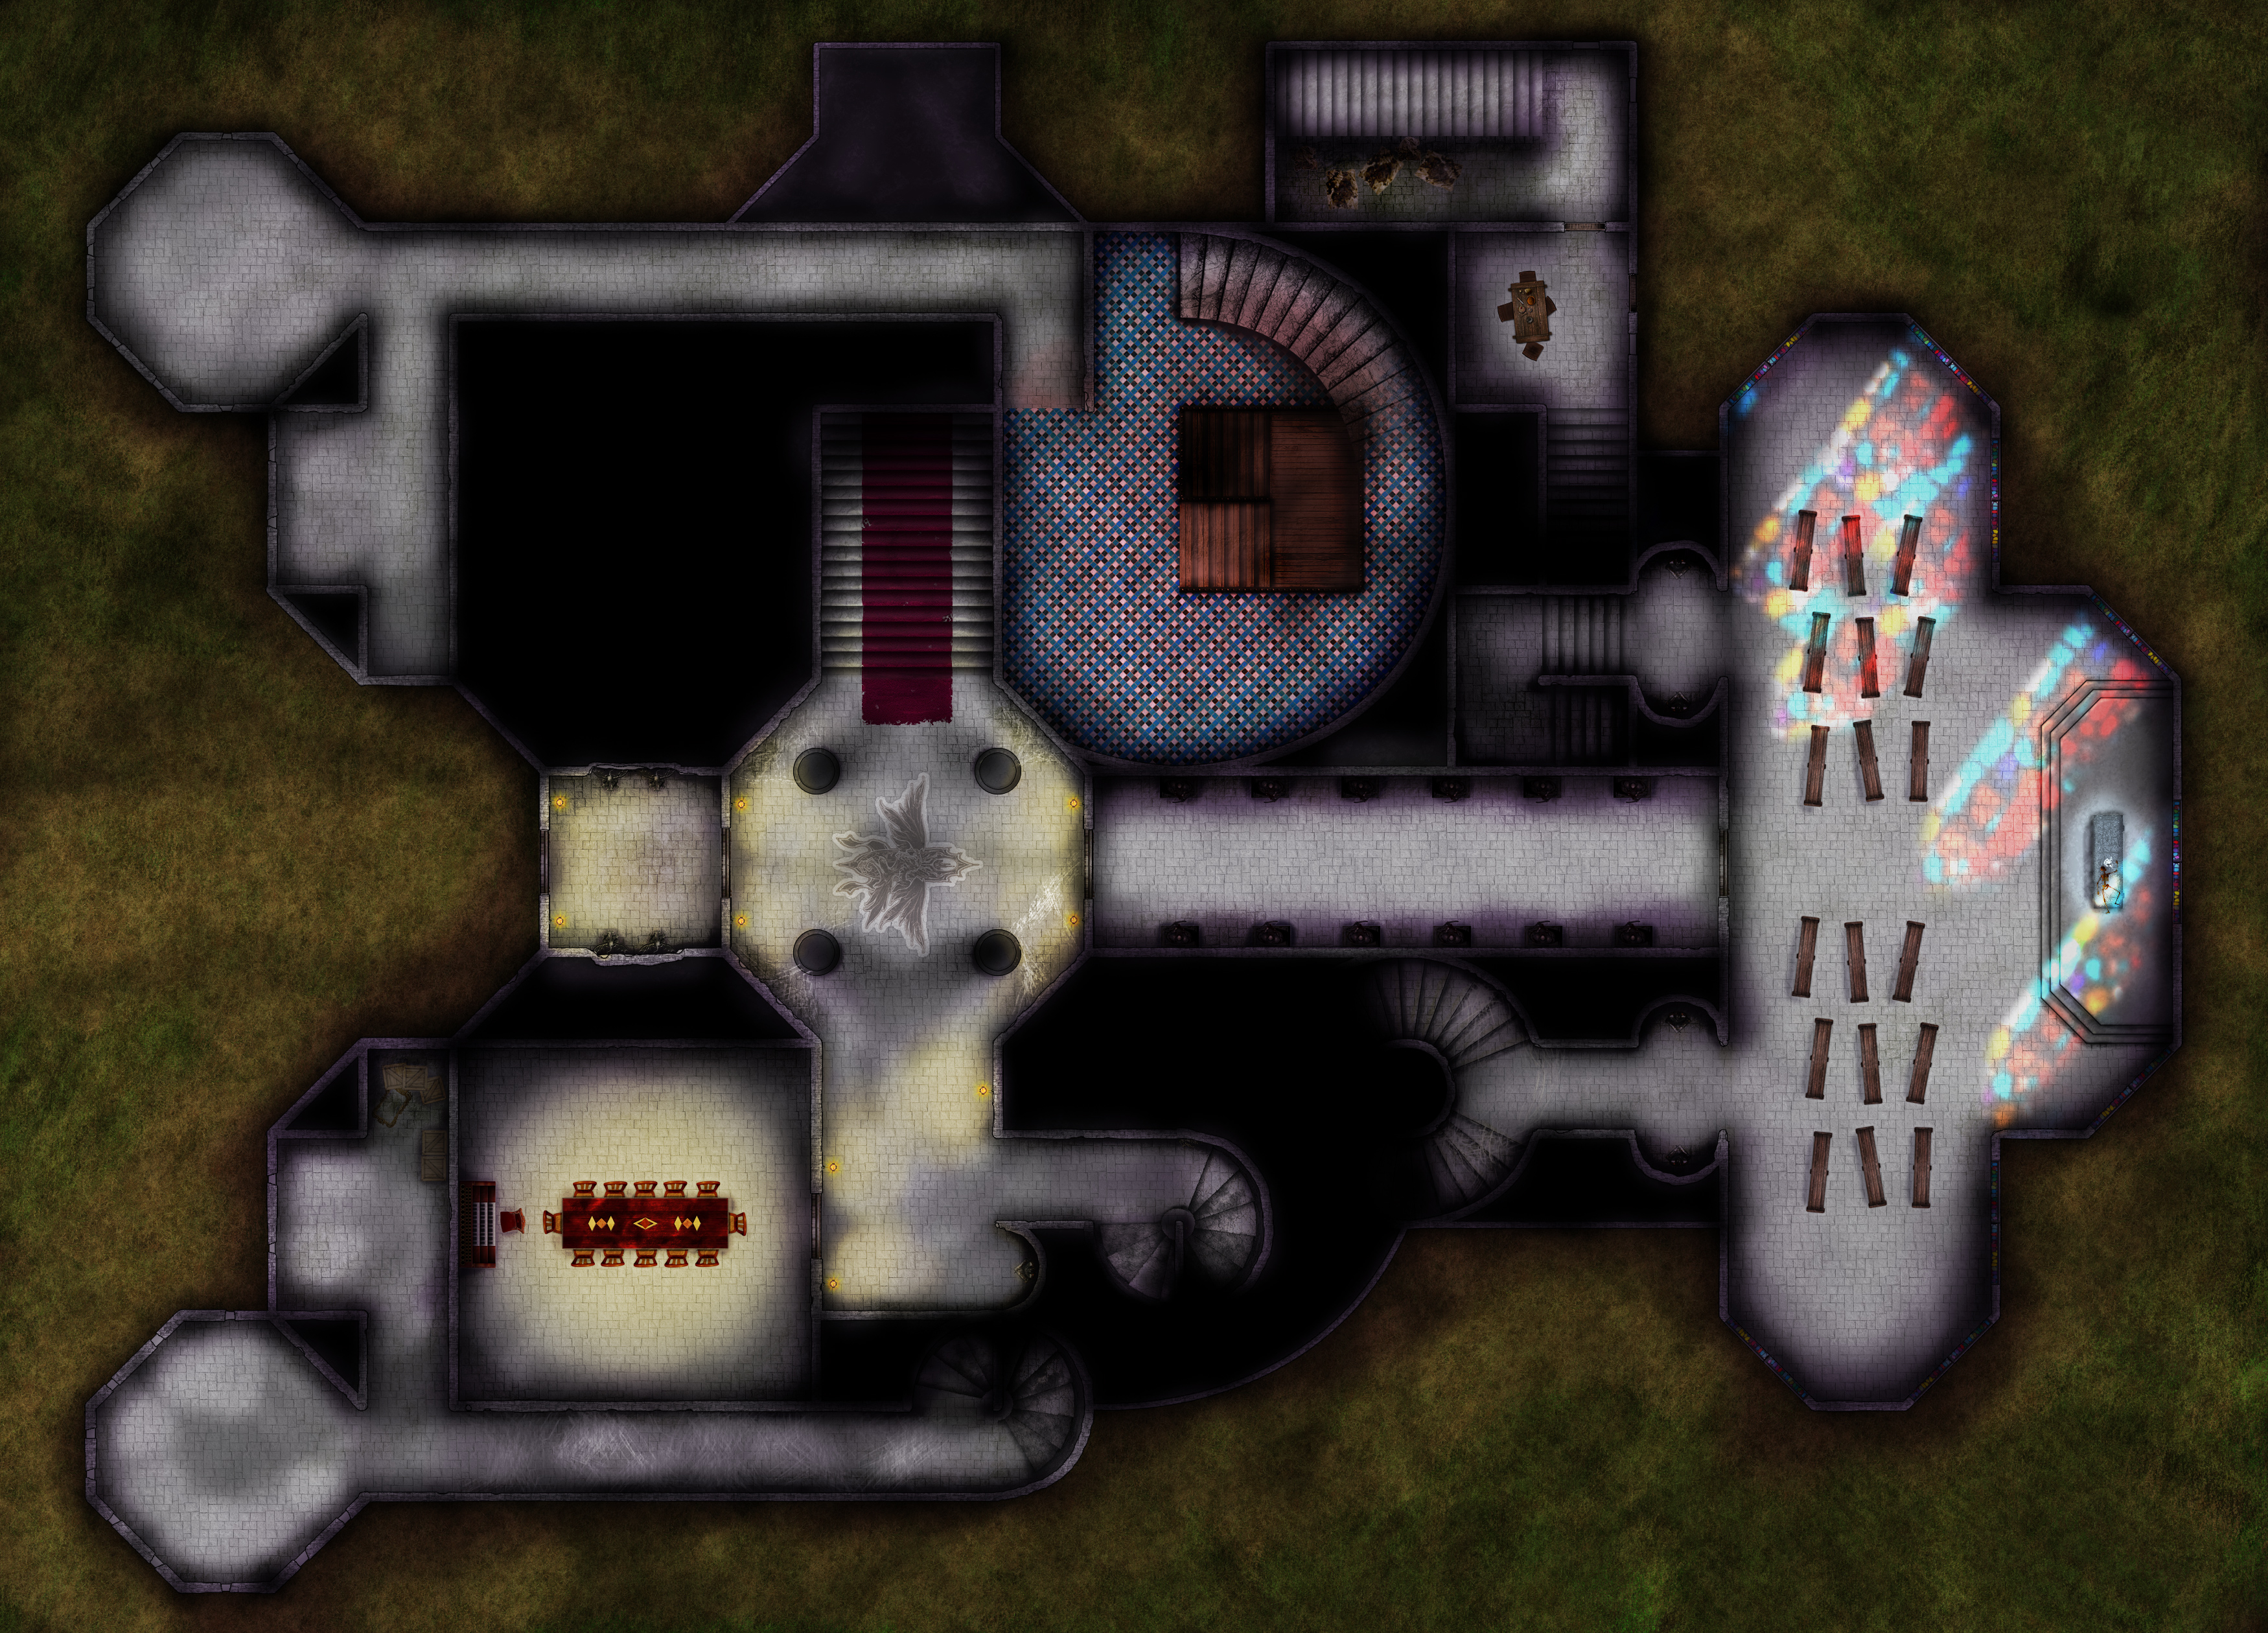
Do yourself a favor and get some non-isometric maps of this place. It's gonna be a huge headache to draw out due to the scale and the view. I want to take this time to recommend /u/pigonthewing 's beautiful maps (What happened to K19?!). I imported them into Roll20 and had it projected for my players. It has been fantastic. (reddit)
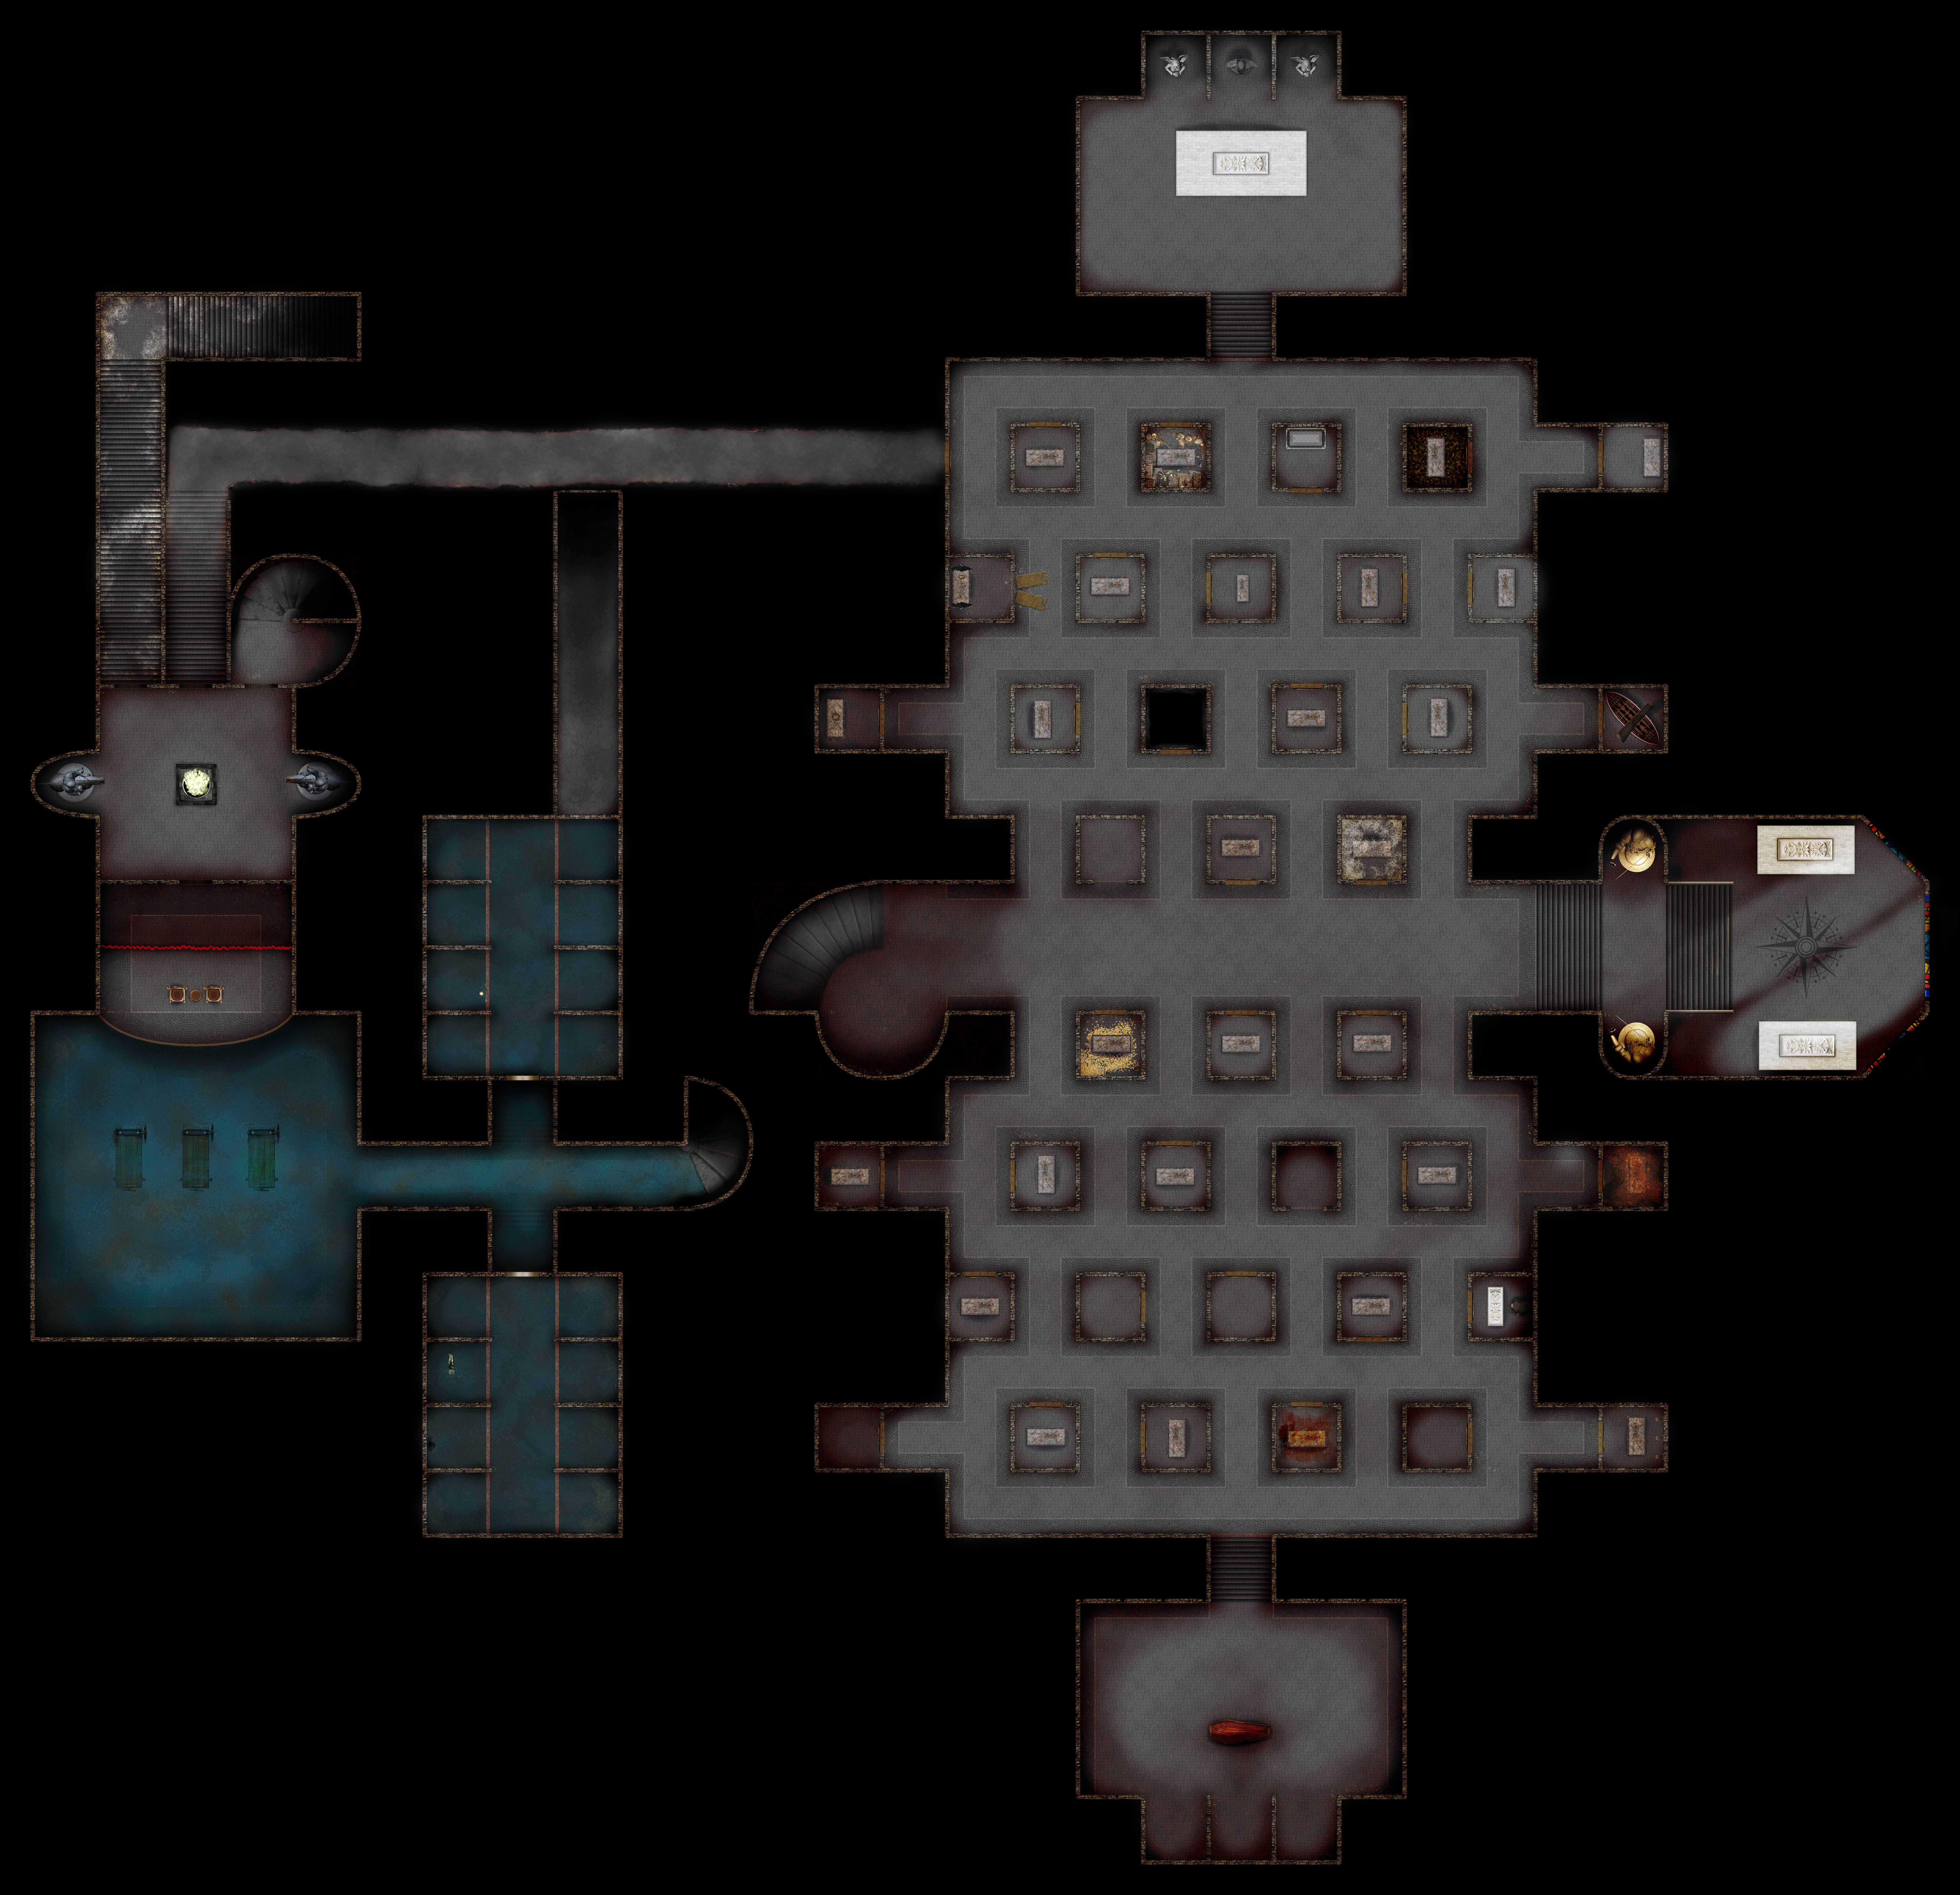
Level -2, Catacombs Map
Level -1, Basement Map
Level 1, First Floor Map
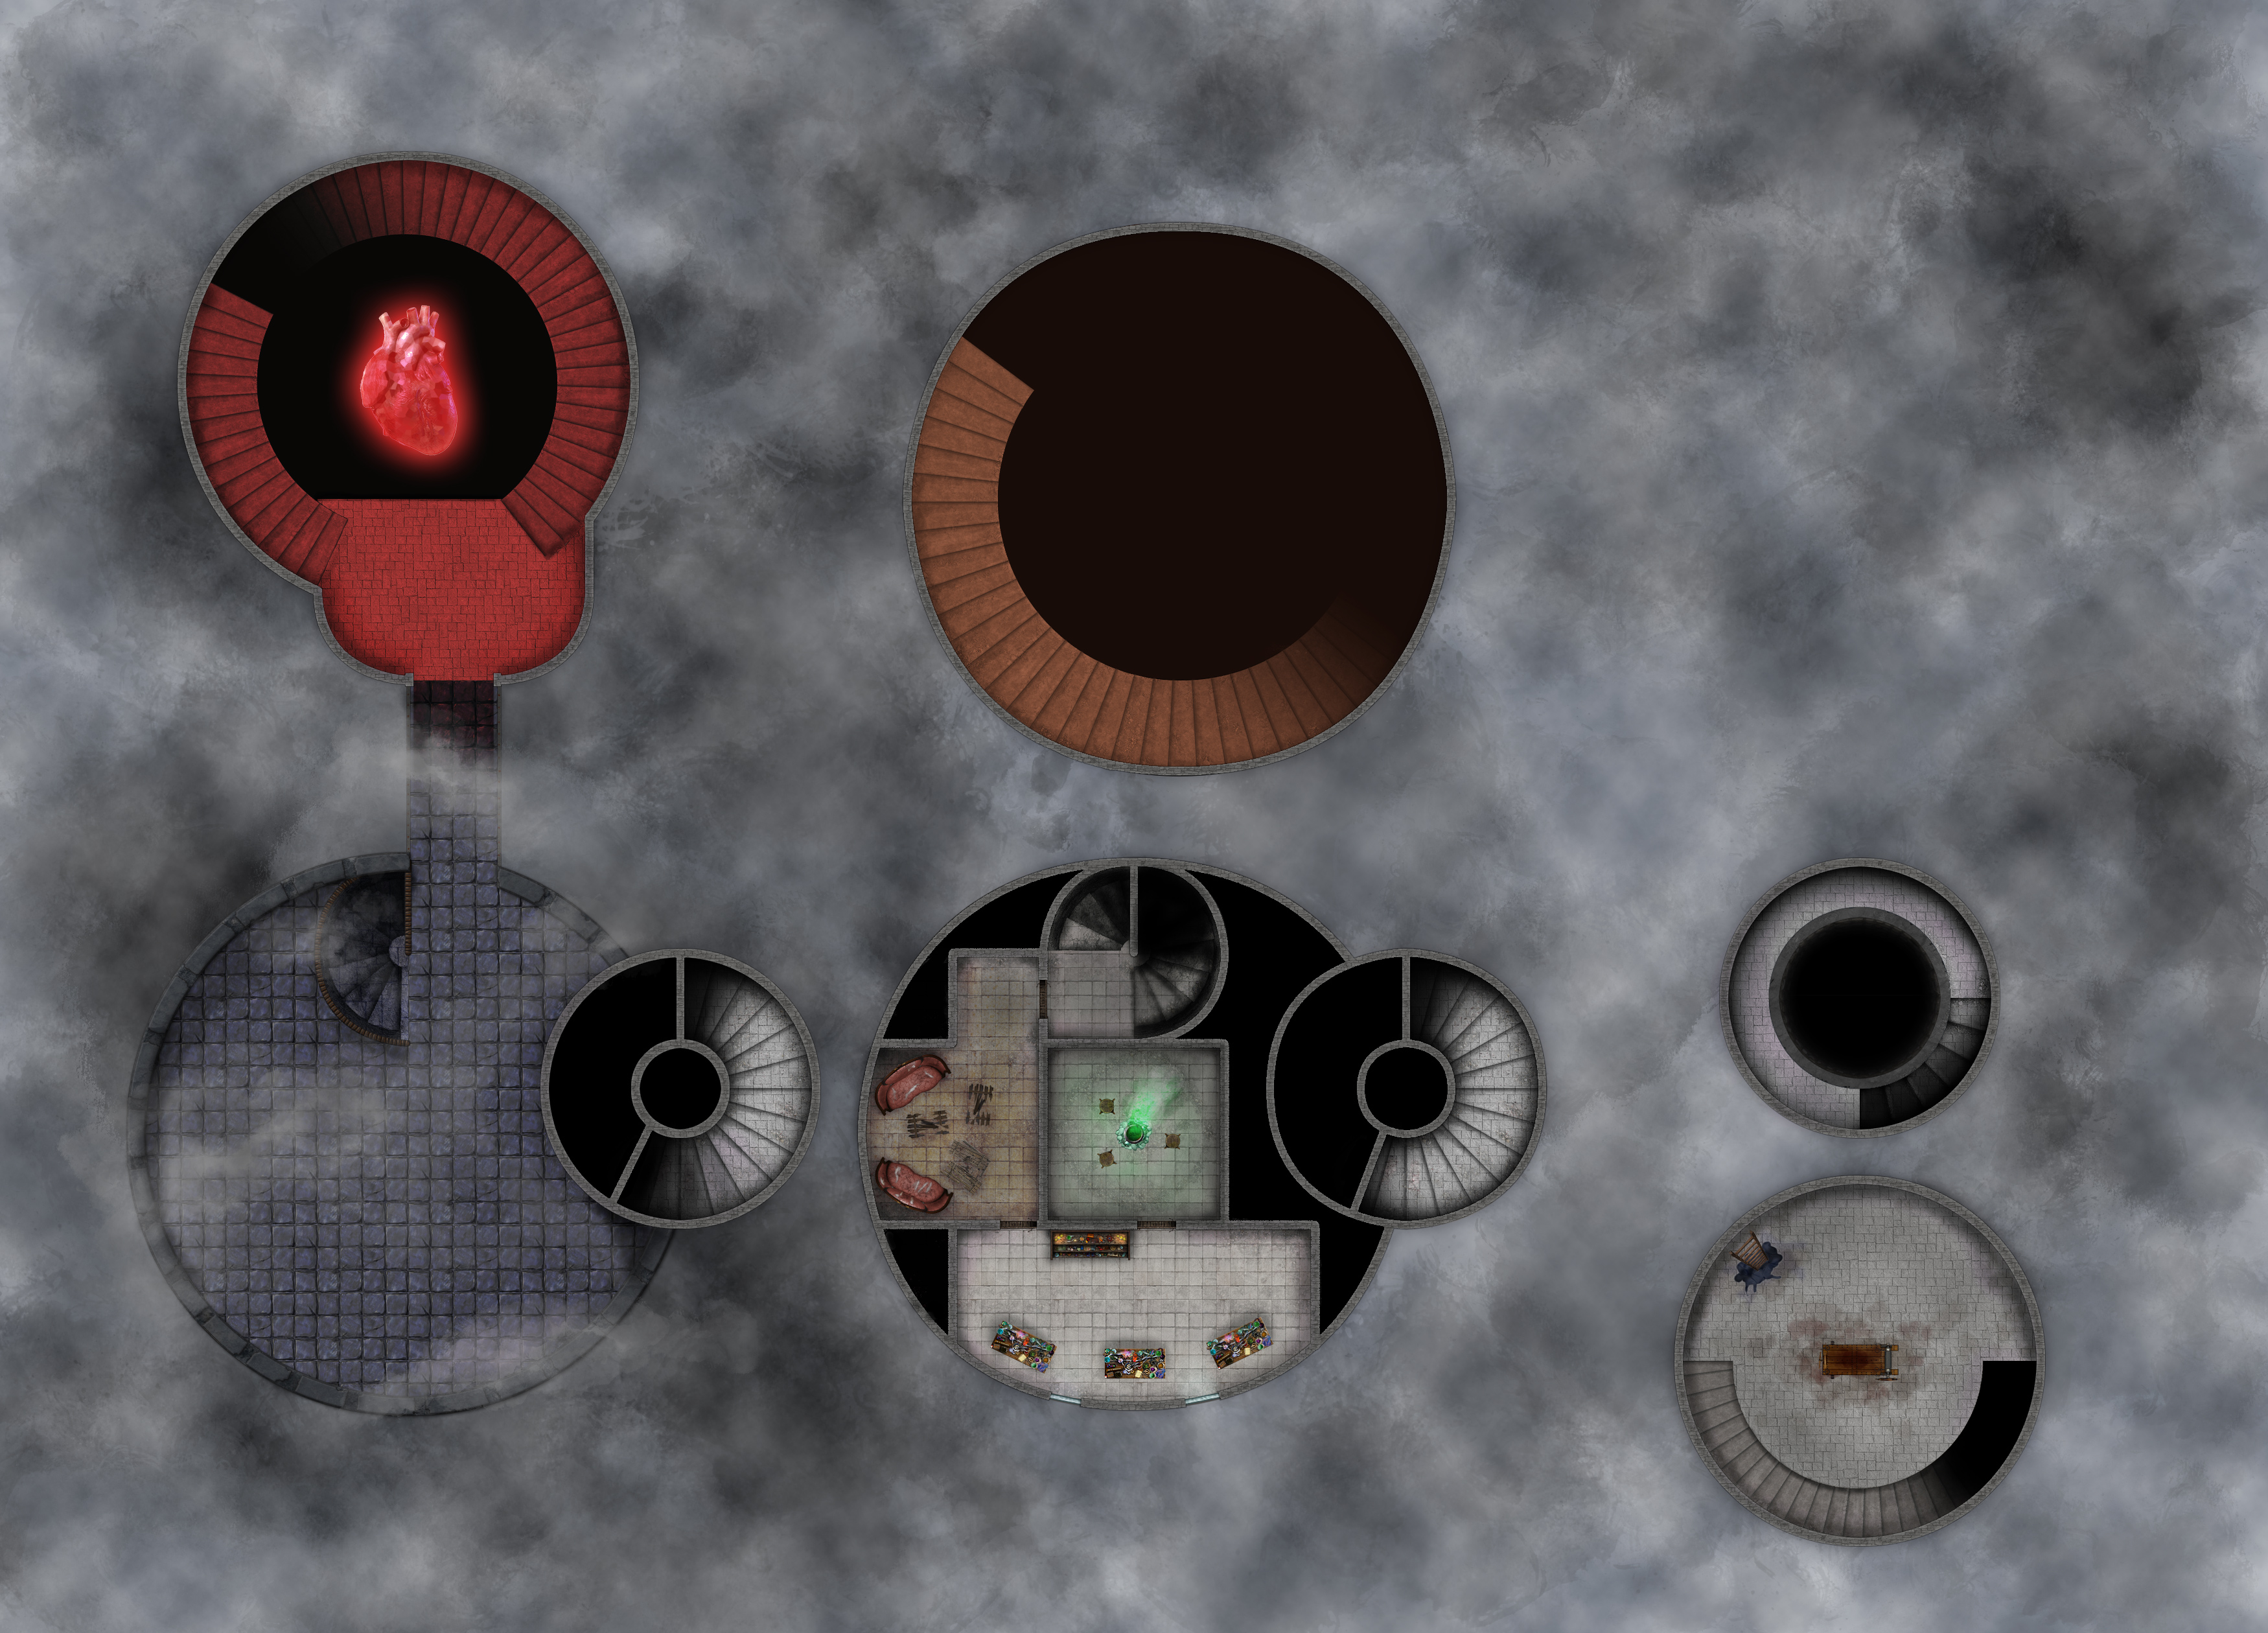
Level 2 Map
Level 3 Map
Level 4 Map
Level 5 Map
Strahd Prep
This probably deserves its own post but quickly, I wrote a paragraph of Strahd monologue for each player character. If things started looking hairy for Strahd he would start pleading with the characters. I also wrote a monologue for when they discover him at his location. (reddit)
K1. The Front Door
I've only started the Castle with one group and they avoided the front door. I suspect my other group will do the same thing. Don't be surprised if your group does this. Read up on the other ways to get into the Castle - The servants entrance, the windows, and the overlook to K88. (reddit)
K6. The Overlook
I really like this area. It gives the players an idea of the magnitude of where they are. They WILL look for a secret way to get into the castle, and they WILL find those damn windows to K88 and they WILL try to figure out how to get there. I straight up read aloud "This descent cannot be accomplished without the aid of magic or a climbers' kit." which shut that down pretty quick (because who buys a climbers kit?). They do have a Warlock who can fly, but they were rightly afraid that whoever went first would be stranded while the others were shuttled in. (reddit)
K24. The Servants' Quarters
This is where I would bet most groups will get into the castle. I had prepared for them to go through the front door. Make sure you read up on this entrance and the Larders of Ill Omen that are below. (reddit)
K62. The Servant's Hall
Read up on Cyrus. Practice a weird voice for him. He is actually pretty useful for the characters if they can convince him to talk, or charm him. (reddit)
Strahd and the Elevator Trap
So the party triggers the elevator trap. Ezmerelda, The Barbarian, Rogue and Cleric are all trapped. The Warlock and the Fighter as well as Karl Wachter and the Guard they saved from Vallakovich's clutches (Their Allies) are stuck at the bottom. Half the party falls asleep from the gas, and the other half uses their turn to wake their sleeping companions. The Warlock casts flight on herself and the Fighter and up up and away they go. They have to fly up, past the trapworks, see what happened, then go to the trapworks and hit the switch to bring the elevator back down so they can access the hatch. The initiative order is: Lair, Ezmerelda, Rogue, Strahd, Barbarian, Cleric. (reddit)
The turn by turn breakdown is really long and breaks the flow of the post, so I have the details linked here. (reddit)
Example elevator trap round-by-round
Ez, Barb, Rog, Cleric in Elevator trap. Fighter and Warlock flying up
Strahd is waiting for them when the Rog looks out of trapdoor.
Round 1:
Turn Order:
Lair, Ezmerelda, Rogue, Strahd, Barbarian, Portrait, Cleric, Rug of Smothering
Ezmerelda casts Protection from Evil on Barbarian.
Rogue tries to pull rug out from under Strahd and finds out it is a Rug of Smothering. The Rogue attacks the rug once for a little damage, attacks again and misses.
Strahd unarmed strikes the rogue 2 times for a lot of damage.
Barbarian gets out of the trapdoor and attacks Strahd w/ Spear of Kavan. He does some magic damage.
Strahd Legendary Action for an unarmed strike on Barbarian for good bit of damage.
Cleric gets out of the trap door and activates sunlight from the Holy Symbol of Ravenkind.
Rug of Smothering smothers the Barbarian.
Strahd Legendary action for a missed attack on the rogue w/ disadvantage due to sunlight.
Round 2:
Lair action: Trapdoors shut and locked trapping in Ezmerelda.
Ezmerelda: Casts Knock on elevator trapdoor.
Strahd Legendary Action: Break LOS to sunlight by going around corner.
Rogue sneak attacks the Rug of Smothering. Does a ton of damage to the Barb in the process
Strahd turn: Regenerate, Punch and bite Barbarian, both hit and do damage
Barbarian: Grapple and attack for little damage – Reckless
Strahd Legendary: Strike Barbarian for damage
Portrait: Hypnotic Pattern. Everyone saves except Barbarian. Grapple Broken.
Cleric: Sacred Flame hits
Round 3:
Lair Action: Allow Strahd to move through walls
Ezmerelda: Casts Knock again on the trapdoor to the room, and gets into room.
Strahd Legendary: Walk through wall out of Sunlight
Rogue: Attack and Kill Guardian Portrait
Strahd: Move back thru wall, attack Cleric. One hit, one miss
Barb: Still hypnotized
Strahd Legendary: Attack and miss Cleric
Cleric: Sacred flame misses
Strahd Legendary: Move back through wall
Round 4:
Lair Acton: Allow Strahd to move through walls
Ezmerelda: Readys lightning bolt
Rogue: Drinks healing potion
Strahd: Walk through wall out of LOS of sunlight – Eats Ezmerelda lightning bolt, makes save – Attacks barbarian and does some damage – Barbarian almost dead
Barb: Reckless grapple (successful) and attack.
Strahd Legendary: Attack Barbarian and puts him down.
Cleric: Hold vampires with holy symbol. Strahd Fails and is forced to use legendary resistance. Bonus action to healing word barbarian.
Strahd Legendary: Attack Barb again, and put him down again
Strahd Legendary: Strahd moves through wall out of Combat. (He uses this legendary action after the party members initiative who were flying to the area)
Round 5:
Fighter and Warlock arrive.
Lair Action: Allow Strahd to move through walls
Fighter: Move to the wall that Strahd disappeared through. Readies a grapple attack
Ezmerelda: Readies lightning bolt that she will fire if she can avoid hitting friendlies
Rogue: applies healing potion to the Barbarian
NPCs: Run up stairs near the fighter.
Strahd: Regenerate, Walk thru wall out of LOS of sunlight. Fighter grapples him. If I thought they would be able to kill him in one round, He would have transformed to gas here and escaped. I didn’t think they could but it got too close. He should have turned to gas here. He dominates the Barovian commoner ally.
Barbarian: Attacks Strahd
Strahd Legendary: Unarmed Strike on fighter
Warlock: Searing rays on Strahd, 3 of them hit
Strahd Legendary: UA strike on fighter
Cleric: Move to put Strahd in sunlight. Cantrip searing light
Strahd Legendary: Unarmed Strike on fighter (Miss due to sunlight)
Round 6:
Lair action: Move thru walls
Fighter: Attack twice, and action surge. Does a ton of damage
Rogue: Ranged sneak attack but with mundane weapon. Still does a lot of damage
NPCs: Attack Strahd (except the commoner)
Commoner: Strahd asks him to help him get away from the fighter
Strahd: Takes 20 damage from sunlight. He has 12 HP left. Bad spot. Uses both attacks to Push the fighter. Commoner’s help action gives advantage. Strahd luckily beats the fighter. Uses bonus action to establish link with heart of sorrow. Moves through the wall as the heart of sorrow buffers from the attacks of opportunity.
Combat ends.
Escher
I RPed Escher as having a little bit of independence from Strahd. He currently was a little upset with Strahd, and while he isn't willing to really help the adventurers, he is willing to help learn where Strahd can be found in Ravenloft. Escher told them the general area of the Hall of Bones they were seeking. (reddit)
The Teleport Room K78
Ohhh the Teleport Room. This room added two sessions on to my planned arc for their adventure. My group misinterpreted their prophesy and teleported to The Amber Temple. My advice for this room is try to pace yourselves so that you can have this room near the end of a session. That way you have time to prepare yourself for the next session in case they go somewhere you did not at all expect. They came back here after the Amber Temple and then teleported to Strahds Tomb, which is where the Sunsword was. (reddit)
The Catacombs
The PCs didn't really check out many of these rooms. They did get caught by the Teleport traps though, which they handled pretty easily. One great thing they did do however, was figure out the teleport loop to get to the alcoves in Strahd's Tomb. They then hid a little silver figurine in Crypt 32 so they could dimension door here whenever they wanted. They hatched a devious plan where if Strahd got away and went back to his Tomb, they could teleport to the Crypt and then get to his Tomb where they could slay him as he recovered. I think in general you want to award this sort of play and planning, so I try to bend fate to allow this to work out. (reddit)
Running the Fake Strahd Encounters
So there are two encounters in the Castle that are "Fake Strahds" One is in the dining room, and the other is the mannequin in K27. In the book they tell you to play these really differently. The mannequin Strahd is supposed to get them to burn resources for no good reason. The Dining room encounter is supposed to allow them to talk to Strahd without the DM being worried about him getting killed. I want to make them burn resources on both encounters. Talk to the PCs for as long as you want at dinner. Infuriate them so much that they can't stand talking and they go to fight. Roll initiative and put illusory Strahd at the bottom. It's great. (reddit)
Premature Strahd Encounters
My group entered the Castle through the Servant's Quarters, and Strahd's location is the Hall of Bones. The party was in the foyer adjacent to Strahd as their SECOND ROOM IN RAVENLOFT. Was I just going to let them mosey in, fresh as a bunch of daisies and thump my boy? Hell no. This is a risk of the nature of the module and the random position of Strahd. I had a plan. If the players encountered Strahd prematurely as determined by me, I was going to remove the sunlight and running water limitation in Strahd's Misty Escape ability. He was going to fight like hell, probably lose, and then turn to mist. After that, the PC's Ally would say something like "It's not over yet. The darklord has been banished back to his tomb. If we don't find it in time, he will rise again." Then I was going to end the session and start the next time with a big bowl of 600 skittles. Every minute that passes in game time, someone has to eat a skittle. When the Skittles are gone, STRAHD'S BACK BABY! (reddit)
Luckily, the players doglegged on to the Elevator Trap instead of the Hall of Bones. (reddit)
The Elevator Trap
This is why you need the weights of the party on the notecards. This Trap is really nasty. Read it over a few times until you completely understand it. It will probably catch 2-4 of the party. It is heavily implied that Strahd will be waiting for them at the top of the trap ready to destroy whoever gets caught. Splitting the party is the most common way players die in DnD. This is a party splitter with a boss fight. Strahd has taken the gloves off at this point and wants to kill these fools. The players who are stuck down at the bottom have to leg it up something like 170 feet of stairs. That's like running up a 16 story building. We will say that is difficult terrain, so that's 30 feet of movement every round (Generous), so our heroes arrive at the top in 6 rounds (36 seconds. Also generous for 16 stories.) or so. At the top they will be greeted with a DC 10 con save or take one level of exhaustion, because good lord that's a lot of stairs. I'll talk more about the Strahd fight here in a different post. (reddit)


